How to Photograph the ISS with a Smartphone or DSLR
The International Space Station is one of the few objects in the night sky that photographs well without a telescope. It is very bright, moves predictably, and doesn't require dark skies. What you do need is to have your camera ready before the pass begins, because three minutes leaves no time to improvise.
Decide on the Photo You Want First
There are two possible outcomes, and they are almost opposites, so it pays to choose before heading outside.
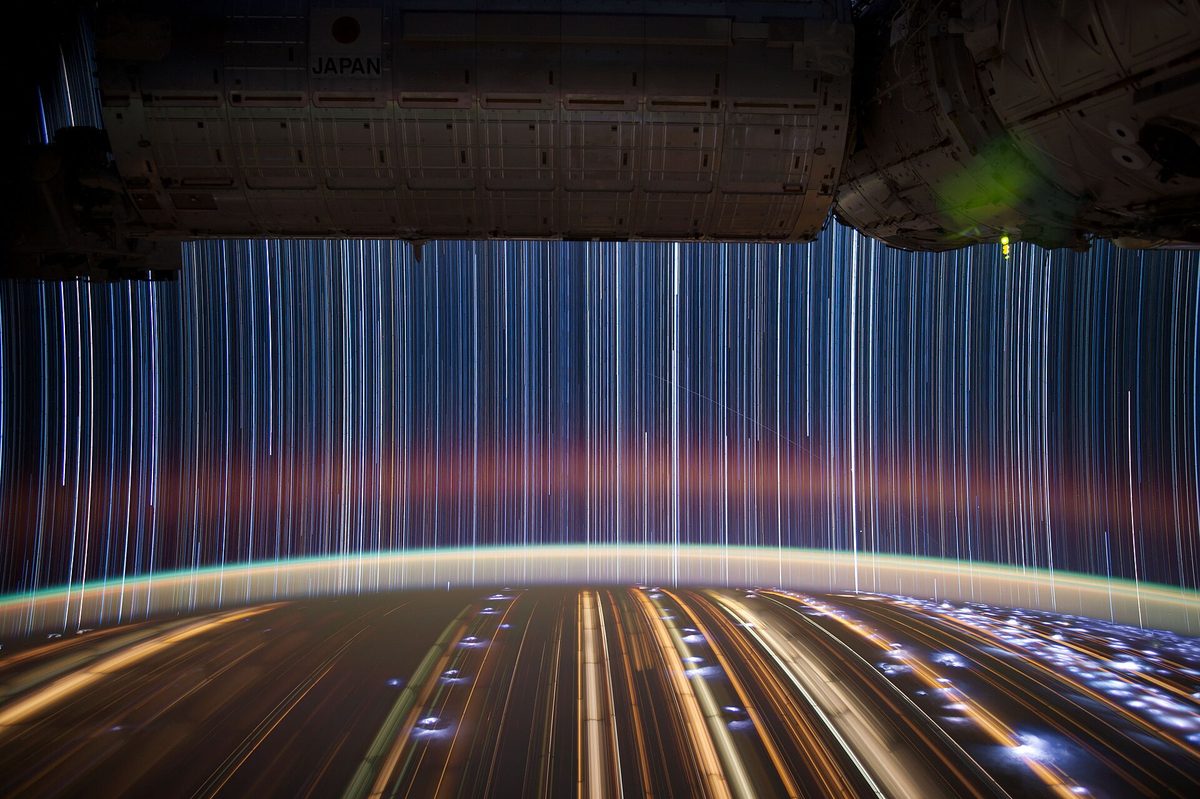
The light trail. A long exposure where the ISS leaves a continuous streak of light across the frame. This is the signature shot, the most rewarding, and the one that turns out great with modest gear.
The station in detail. Resolved solar panels and modules. This requires a tracking telescope and plenty of practice; it is not a realistic goal for your first night.
This article focuses on the first one, which is the shot you can get this very week.
With a Smartphone
Any reasonably modern phone will work, provided two non-negotiable conditions are met: a manual or night mode with exposure control, and a steady rest. Without a tripod, there is no photo; a wall, a railing, or a backpack placed on the ground can do the job if positioned correctly.
- Pro or manual mode, never automatic: auto mode will underexpose the sky, and you won't see a thing.
- 15- to 30-second exposure. The longer the exposure, the longer the trail, but also the more urban light pollution you capture.
- ISO between 400 and 800. Going higher only adds noise.
- Manual focus set to infinity. Autofocus will struggle in the dark and leave your shot blurry.
- 3-second timer so your finger tap doesn't ruin the exposure.
If your phone has a dedicated long-exposure or light-trails mode, use it: it is designed specifically for this.
With a DSLR or Mirrorless Camera
Here you have far more flexibility. A wide-angle lens, between 14 and 24 mm, allows you to capture the entire pass in a single frame.
- Manual mode and a wide-open aperture, f/2.8 or the fastest setting your lens allows.
- ISO 800 to 1600, depending on how light-polluted your sky is.
- 20- to 30-second exposures, taken in continuous burst using a remote shutter release or an intervalometer.
- RAW format, essential if you plan to stack your shots later.
The technique that delivers the best results is shooting a continuous sequence throughout the entire pass and then stacking the images with free software. The result is a single, dramatic trail stretching from horizon to horizon, impossible to achieve in a single exposure.
Composition Makes All the Difference
A white line against a black background is technically correct, but underwhelming. The shots that really work are the ones that include something recognizable in the frame: a tower, a silhouetted tree, a church, a mountain ridge, or the sea. That foreground element provides scale and context, turning a technical record into a striking photograph.
To pull this off, you need to know where the station will pass before it arrives, which is where the pass azimuth becomes useful: it tells you the direction it will rise from and where it will head, allowing you to set up your tripod and frame that section of the sky with your chosen foreground element.
Preparation: The Ten Minutes That Decide Everything
Check the pass on the pass times calculator and note the start time, maximum elevation, and entry and exit directions. Look for passes with an elevation above 40 degrees: they produce longer and brighter streaks.
Arrive at your spot ten minutes early. Set up the tripod, frame your shot, focus to infinity using screen magnification on a bright star, and take a test shot to verify your exposure. Once the ISS appears, you won't have time to adjust anything.
And keep in mind something that catches everyone off guard: the station will likely vanish abruptly mid-pass as it slips into Earth's shadow. The trail will cut off suddenly. This isn't a camera glitch, and with good framing, it looks even cooler.
Use the real-time tracker to confirm tonight's trajectory matches your expectations, and check the viewing guide to refresh your knowledge on brightness and visibility details.
With a tripod, a thirty-second exposure, and a high pass, you can capture your first great shot on night one or two.
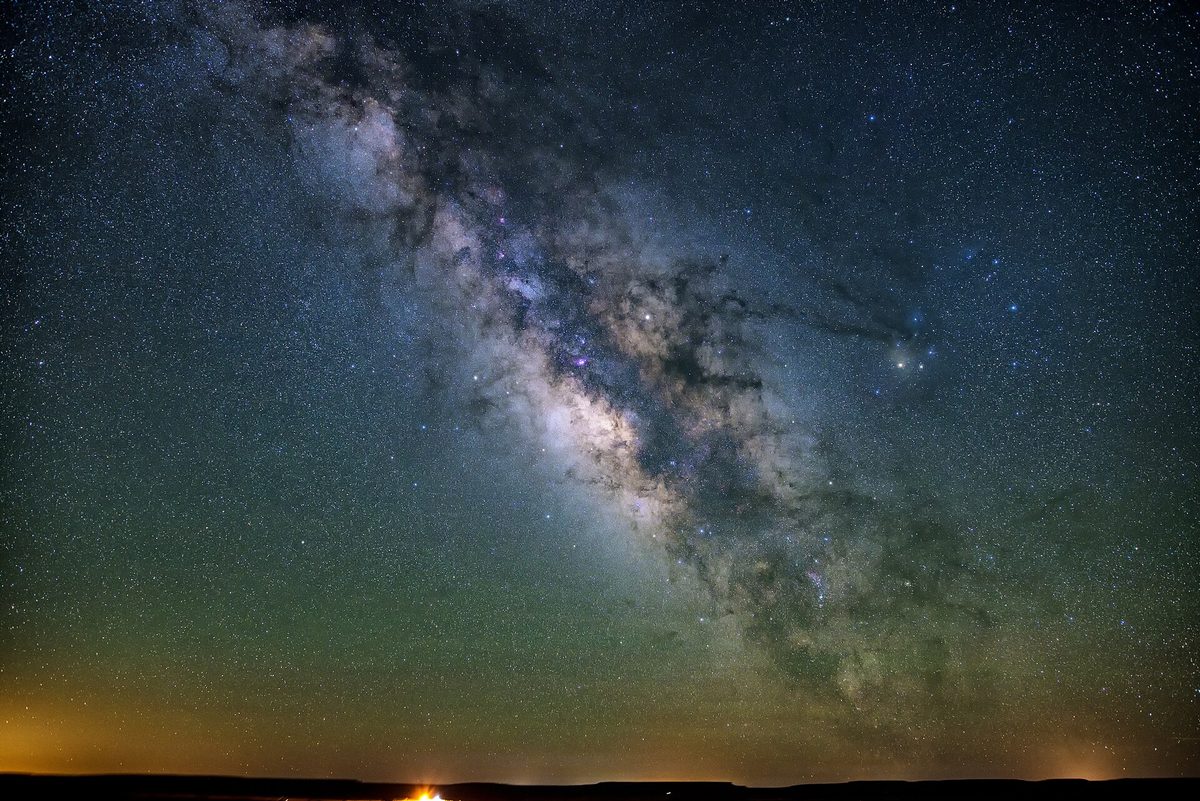
Images: cover, Milky Way by John Fowler — John Fowler (CC BY 2.0). Interior, International Space Station star trails - JSC2012E039800 — NASA/Don Pettit (Public domain).
Source: ISS Tracker ↗